A Comprehensive Guide to Winterising Your Caravan: Protect Your Home on Wheels for the Colder Months
As the crisp autumn air signals the end of the caravanning season, it’s time to shift gears and focus on preparing your caravan for the winter months ahead. Proper winterisation not only protects your beloved home on wheels but also ensures it’s ready for hassle-free adventures when spring rolls around. Neglecting this essential process can lead to costly repairs, damp issues, and surprises when you’re ready to hit the road again. To help you avoid all that, here’s a comprehensive guide to winterising your caravan.
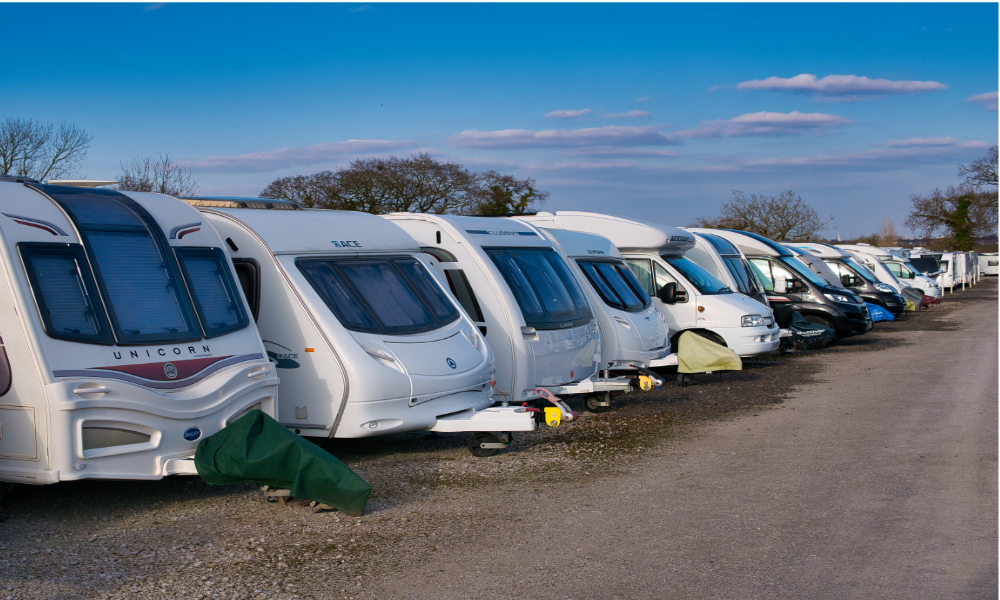
1. Choosing the Right Storage: A Safe Haven for Your Caravan
The first step in winterising your caravan is selecting a secure and suitable storage location. Whether it’s parked at home or in a dedicated facility, the right storage can make all the difference.
- At Home: If storing your caravan on your property, ensure it’s parked on level ground and consider using wheel chocks for added stability.
- Remote Storage: Farms and caravan-specific storage sites often provide secure environments. Look for facilities accredited by the Caravan Storage Site Owners Association (CaSSOA), as they offer peace of mind with high-security standards like CCTV and gated access.
2. Exterior Maintenance: A Shine That Lasts Through Winter
A clean caravan is a happy caravan! Before storing it away, give the exterior a thorough clean to remove dirt, grime, and road salt that can cause long-term damage.
- Inspect and Repair: While cleaning, check for cracks, sealant wear, or any damage that might worsen during the winter. Addressing these issues now prevents water ingress and mould growth.
- Cleaning Tips: Use caravan-specific cleaning agents and steer clear of pressure washers, as the intense force can compromise seals. Apply a protective wax coating to safeguard against frost, rain, and UV exposure.
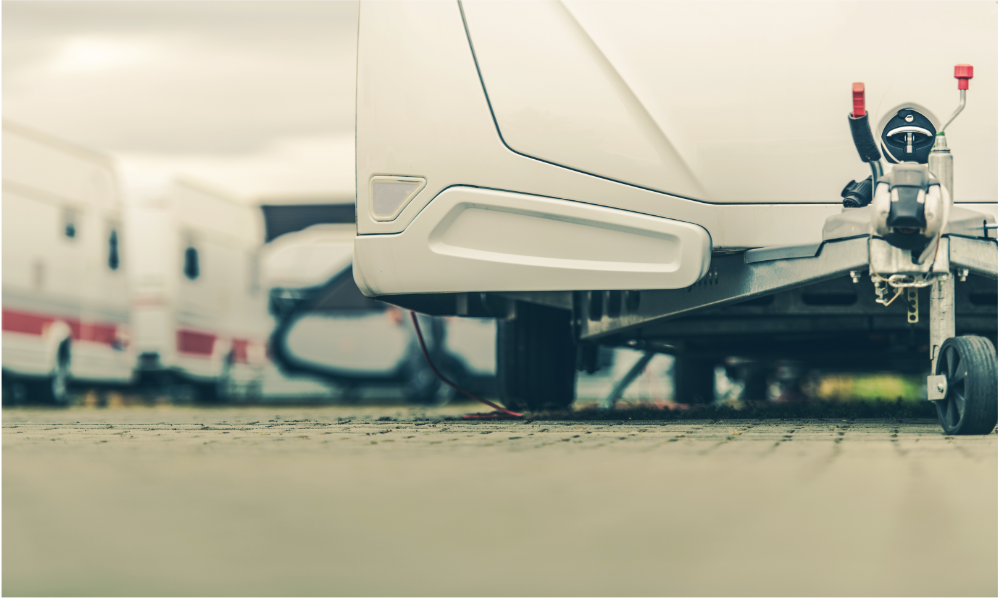
- Protect the Tyres: Rotate tyres every 6–8 weeks to avoid flat spots and shield them from sunlight with tyre covers. Alternatively, consider raising the caravan slightly off the ground using axle stands.
3. Beef Up Security: Deter Potential Thieves
Caravans are a tempting target for theft, especially during the off-season. Enhance your security with:
- Hitch locks and wheel clamps
- GPS trackers for location monitoring
- Alarm systems for an added layer of protection
Always ensure your security measures meet the requirements of your caravan insurance policy.
4. Interior Care: A Fresh Start Next Spring
Maintaining the interior of your caravan is just as important as its exterior. A little effort now will save you from unpleasant odours, damp, and damage later.
- Deep Clean: Vacuum carpets, wipe down surfaces, and empty cupboards to discourage pests. Remove all perishable items from the fridge and cupboards.
- Prevent Dampness: Leave cupboards and wardrobes open for airflow, and store cushions and soft furnishings at home if possible. If left in the caravan, cover them with breathable fabric and move them away from walls.
- Window Care: Keep blinds open to prevent tension loss in the springs. You can also place cardboard screens or reflective covers over windows to block sunlight and dust.
5. Drain Water Systems: Avoid Frost Damage
Water left in the caravan’s system can freeze and cause pipes or tanks to burst, leading to costly repairs. Here’s how to winter-proof your water system:
- Open all taps and drain water tanks, pipes, and filters.
- Run your onboard pump briefly to clear residual water.
- Shake out water from the showerhead and hoses.
- Use a Flo Drainage Kit for thorough draining.
- Don’t forget to drain your Aquaroll containers and clean them to prevent mould buildup.
6. Toilet Care: Keep It Clean and Functional
If your caravan has a cassette toilet, don’t skip this crucial step:
- Empty and clean the toilet cassette thoroughly.
- Lubricate seals with a silicone-based lubricant to keep them flexible.
- Leave the valve slightly open to prevent it from sticking over time.
7. Battery and Electrics: Powering Down Smartly
Your caravan’s leisure battery and electrics require careful attention:
- Fully charge or disconnect the leisure battery before storage. Ideally, take it home and recharge it periodically.
- Unplug all electrical appliances and ensure the gas system is shut off.
- Check smoke alarms and carbon monoxide detectors, ensuring they’re in working order.
8. Final Touches: The Cherry on Top
The finishing touches can make a world of difference when it’s time to hit the road again.
- Covers: Invest in a breathable caravan cover to protect against moisture, dirt, and UV rays.
- Regular Checks: Visit your stored caravan periodically to ensure everything is in good condition. Look out for any signs of damp, pest activity, or tyre deflation.
- Service Time: Winter is an ideal time to schedule a professional caravan service with an Approved Workshop Scheme (AWS) technician. This ensures everything is in working order when you’re ready to tow again.
Why Winterising Matters
Taking the time to winterise your caravan isn’t just about preserving its condition—it’s about ensuring your future trips are stress-free and enjoyable. Neglecting these steps could lead to frozen pipes, pest infestations, and structural damage, all of which can dampen your spirits (and your wallet).
Ready for Next Season?
By following this guide, you’ll be ready to hit the road as soon as the first signs of spring appear. And if you’d like expert help, why not book a professional caravan service this winter? Head over to the Approved Workshop Scheme website to find a trusted service engineer near you.
With your caravan in tip-top shape, you can look forward to another season of unforgettable adventures. Happy winterising—and even happier caravanning!